When you think of ice cream cake, do you think of a layer of cake topped with a layer of ice cream? Or do you think about a cake-shaped confection made entirely of ice cream?
My darling son recently turned nine. While his Star Wars-themed sleepover party with five of his best pals will have to wait until the dust settles from our move, we did mark the occasion with a small family celebration. I had not doubt what JR would select for his birthday dinner: spaghetti and meatballs. That part was easy.
What kind of birthday cake to serve was a much harder call. You see, JR doesn’t exactly like cake. He has been known to eat the frosting off a cupcake and leave the cake part behind. He actually told me once that cake was his least favorite food. Now, mind you, if he ever tried a green vegetable, that might make cake look a whole lot better. But all this is to say: I didn’t want to make him a typical birthday cake.
But JR loves ice cream. So, I thought that an ice cream cake might be more to his liking. When I think of ice cream cake, I think of the Baskin-Robbins kind from my childhood: a layer of cake, which was always unpleasantly cold and hard for obvious reasons, topped with a layer of ice cream and decorated.
What I learned, in researching ice cream cake recipes, was that some people when they hear “ice cream” cake think of the Dairy Queen kind that is actually made entirely of ice cream molded into a cake shape. That kind of blew my mind. But I was sure that I had stumbled upon the perfect birthday cake for JR.
So, several days before JR’s actual birthday, I began fashioning his ice cream cake. I relied heavily on a post from The Kitchn on how to make an all-ice-cream ice cream cake, particularly the idea to use a springform pan as a mold. But there were several instances when I had to alter or adjust that recipe, so I thought I would share my experience with you in case you got the idea to make a homemade ice cream cake.
It’s imperative that you begin the process a few days before you want to serve the cake because there are multiple steps and after every step, you need to let the ice cream, which has inevitably softened, re-freeze.
It is equally important to ensure that you have adequate freezer space before you attempt this project. My kitchen refrigerator (in my new house) has a bottom freezer which would absolutely not have worked. Fortunately, I have an extra refrigerator in the basement with a top freezer that was perfect for this project.

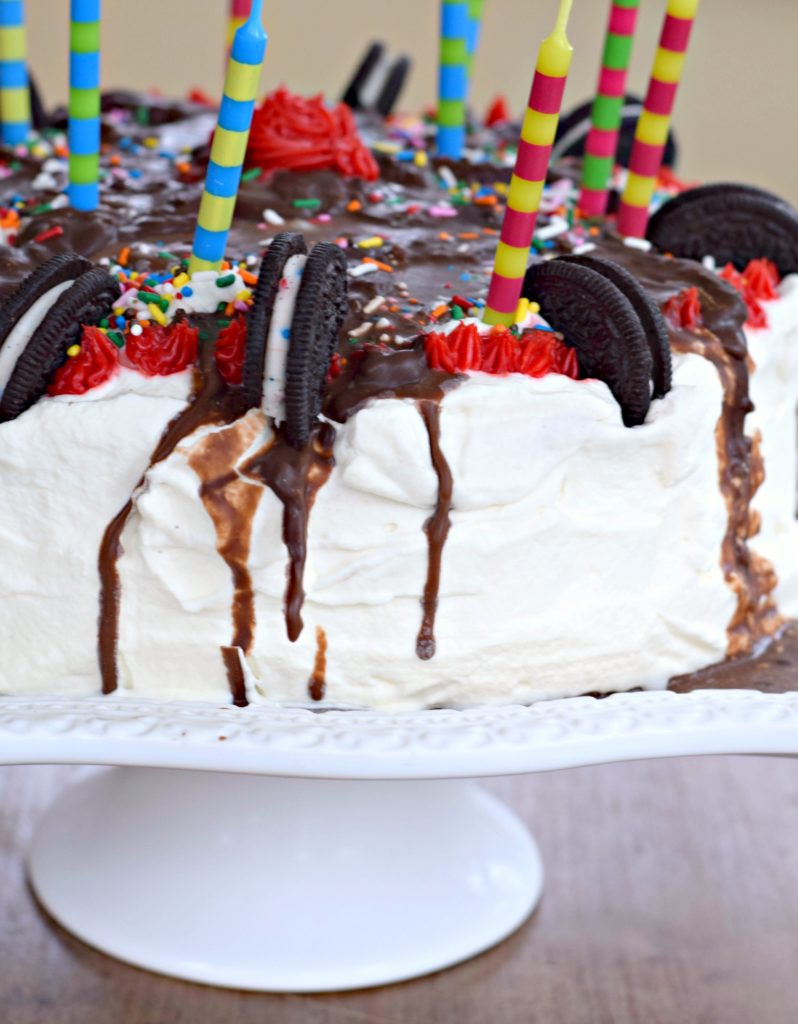
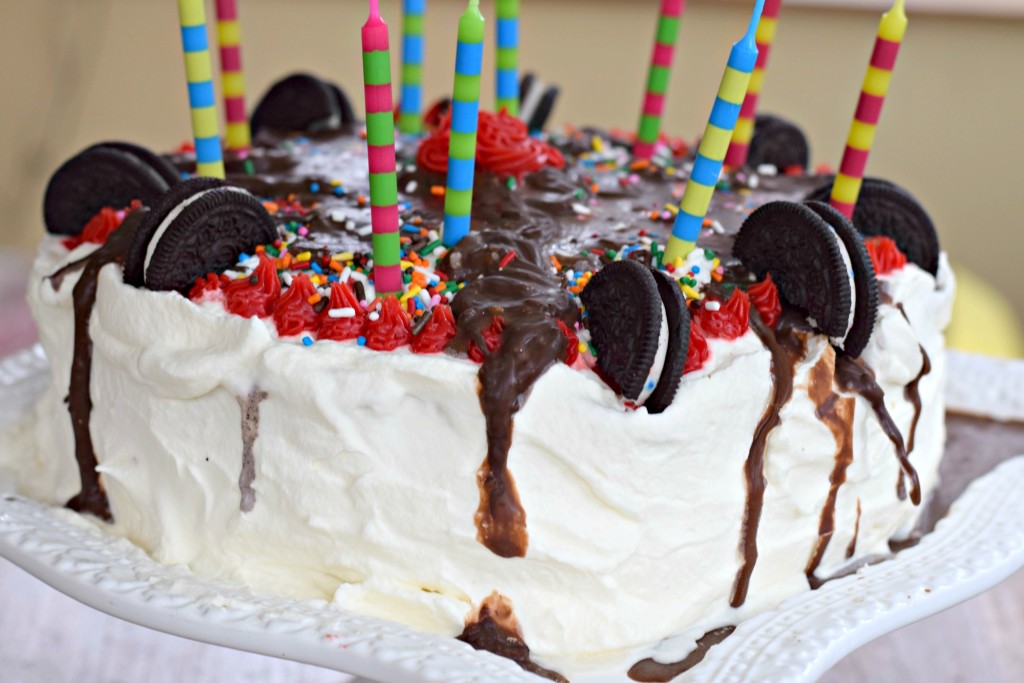
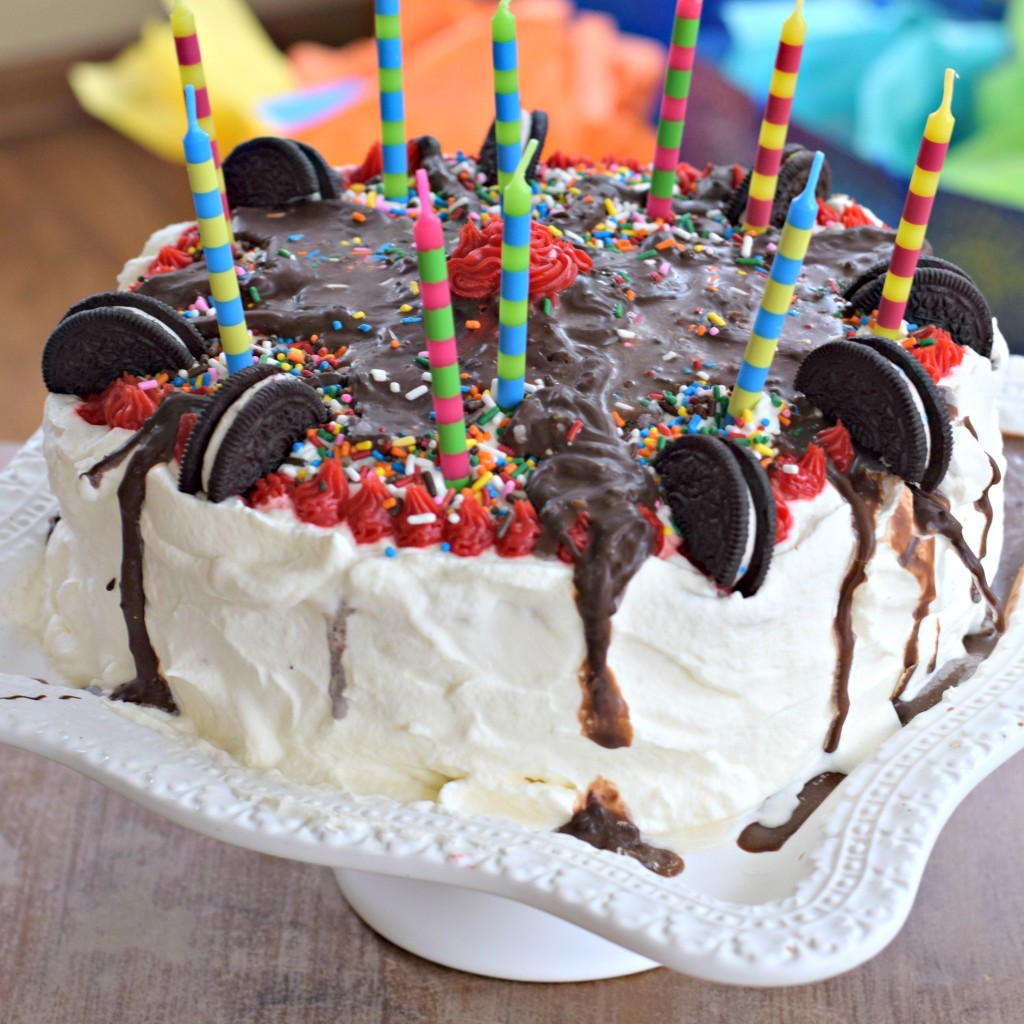
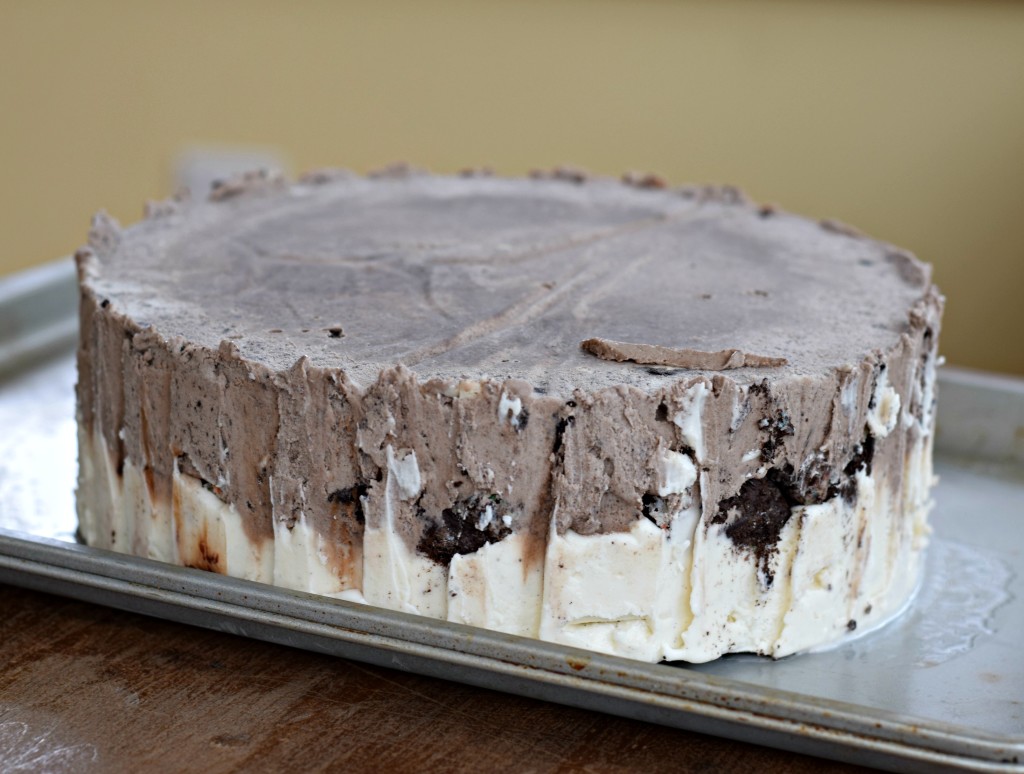
To make the cake, you layer ice cream and crushed cookies, that are bound together with a dessert sauce, in the ring of a springform pan, with the bottom removed. The frosting is simply sweetened whipped cream.
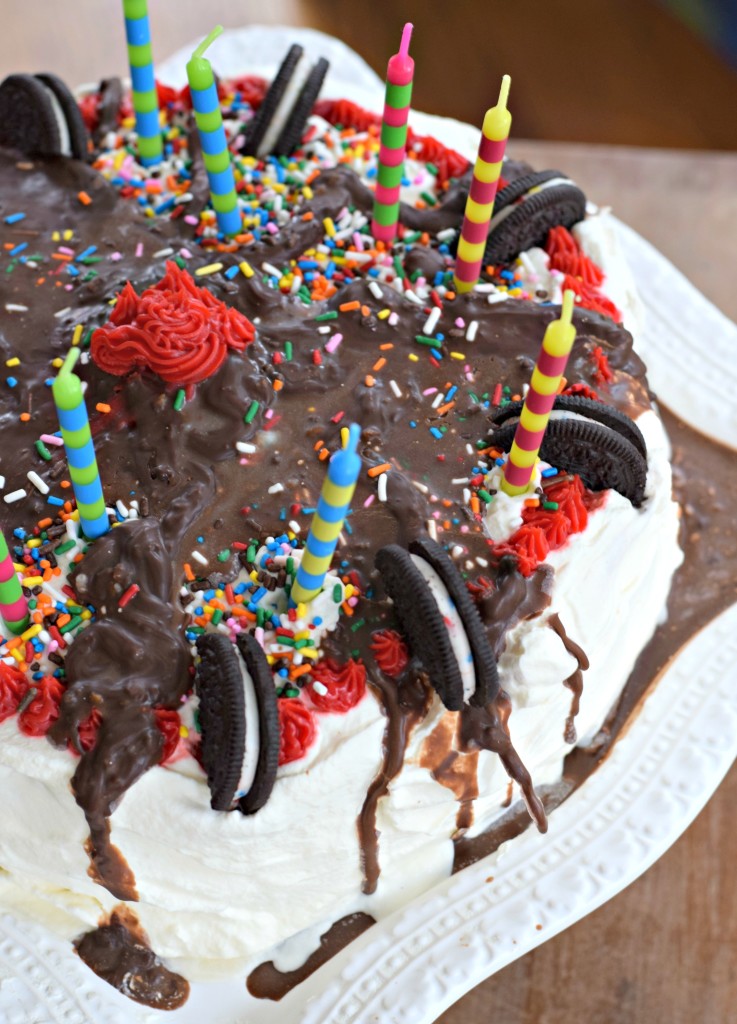
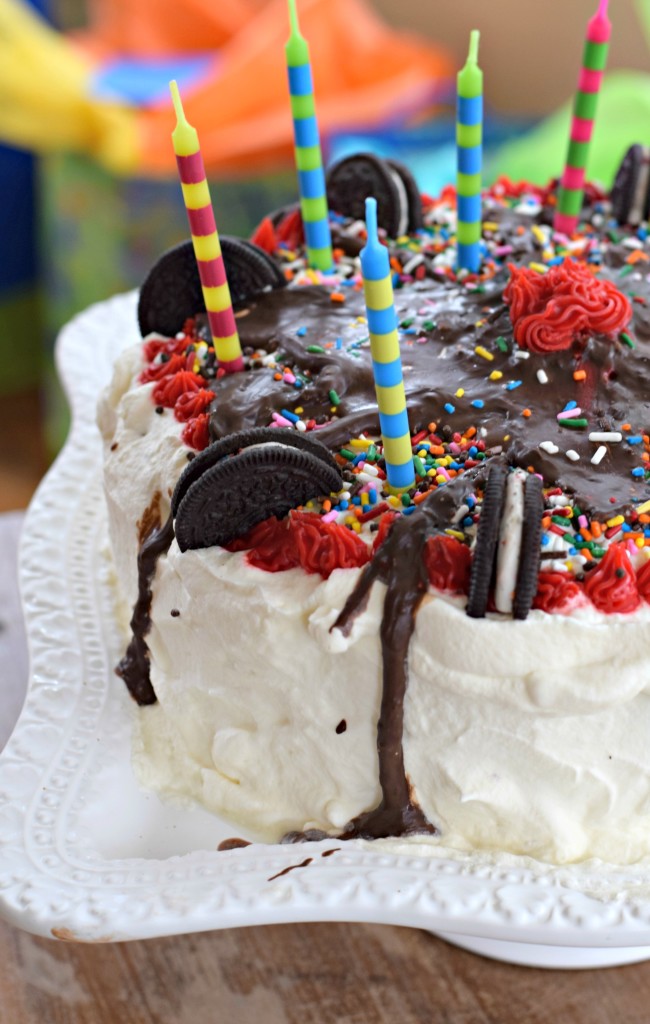
I combined vanilla and cookies ‘n cream ice cream for my cake because those are JR’s favorite flavors. (The guy is not adventurous.) But you can get creative with flavor combinations and add-ins. My middle layer was crushed Oreos and hot fudge sauce, but again, you could use a different cookie and sauce. For decorating, I used icing from a tube, sprinkles, hot fudge sauce and more Oreos.
Needless to say, the cookies ‘n cream ice cream cake was a huge hit with JR. My husband and Zuzu were also very enthusiastic. The only person who probably would have preferred a cake cake was me. My teeth are so sensitive to cold that I barely even eat ice cream any more. How lame is that? Days later, we still have more than half of this ice cream cake left in the freezer. So I can say with confidence that this cake will easily serve eight or more.
Do you have fond childhood memories of ice cream cake? If so, are you partial to the cake-plus-ice-cream kind or the all-ice-cream kind?
Ingredients
- 8 pints (4 quarts) ice cream, a mix of cookies 'n cream and vanilla
- 1 package Birthday Cake Oreos
- 2 jars hot fudge sauce or 1 jar hot fudge and 1 Magic Shell
- 1 quart heavy cream
- Powdered sugar
- Vanilla Extract
- Sprinkles and icing for decoration
Instructions
- Line a baking sheet (that fits in your freezer) with parchment paper and place the ring of a springform pan with the bottom removed on top of the paper.
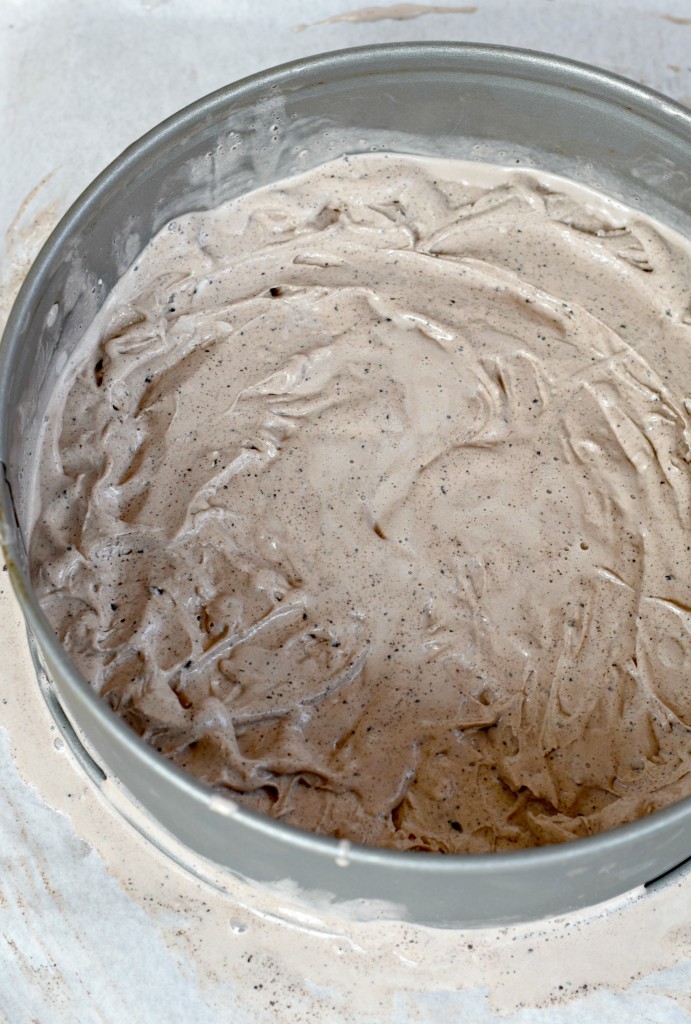
- Place 4 pints of ice cream, whatever flavor you want to be the top layer, in the bowl of a standing mixer and beat with the paddle attachment until smooth, about 2 minutes. You will need to scrape down the sides frequently.
- Place the ice cream in the bottom of the springform ring and smooth the top. Cover with plastic wrap. Return to the freezer until completely hardened, at least several hours.
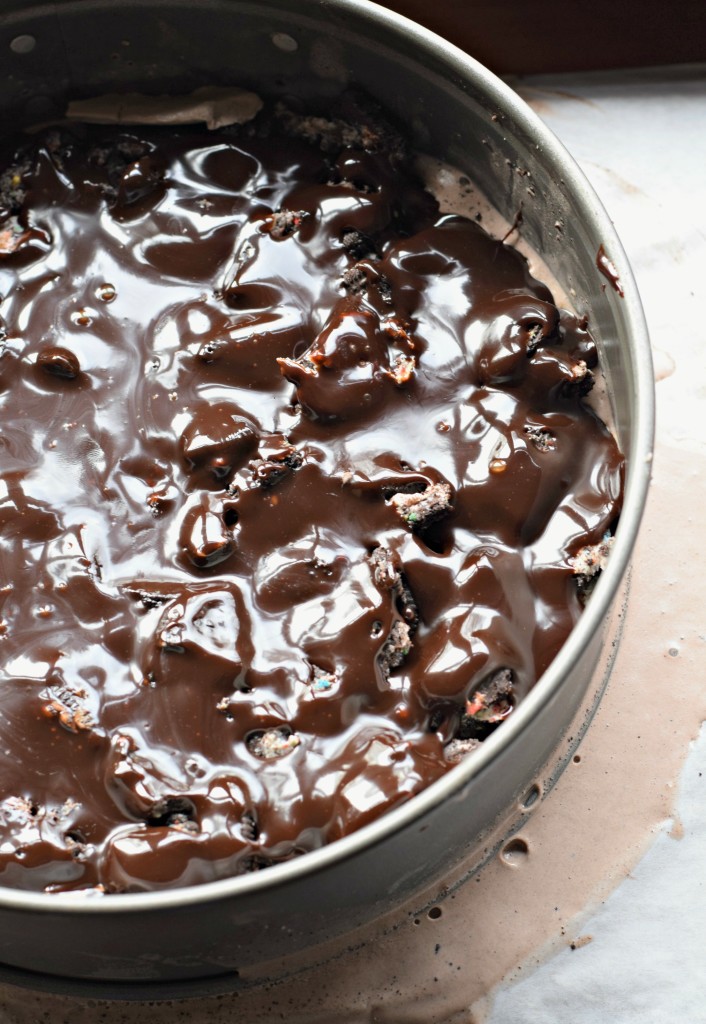
- Reserve 6-8 Oreos for decoration and place the rest in a large plastic bag and crush with your hands.
- Heat one jar of hot fudge sauce in the microwave just until pourable, about 20 seconds.
- Place the crushed Oreos on top of the ice cream layer and cover with the hot fudge sauce. Cover and return to the freezer until hardened.
- Beat the remaining 4 pints of ice cream in the same manner as before and spread on top of the cookie layer. It should reach the top of the springform ring.
- Cover and return to the freezer until hardened, several hours or overnight.
- To unmold cake, remove plastic wrap and place a second baking sheet on top of the springform ring. Flip the cake over and remove baking sheet and parchment paper. Run a thin knife along the inside of the ring and carefully lift it off.
- Cover and return to the freezer while you whip the cream.
- Place the heavy cream in the bowl of a standing mixer and using the whisk attachment, beat on high speed until soft peaks form. Gradually add powdered sugar and vanilla extract to taste while beating.
- Move the cake onto the plate or platter you intend to serve it on - make sure it fits in your freezer!
- Use an offset spatular to frost the cake with the whipped cream. Decorate with sprinkles, icing, additional hot fudge sauce or Magic Shell and reserved Oreos.
- Cover loosely and return to freezer until time to serve!